As a comic fan, perhaps you have already had a collection of TMNT-related items like comic books, cartoon series, video games or toys. If so, you won’t miss the DVD movie TMNT(Teenage Mutant Ninja Turtles). By Cassidee MoserTeenage Mutant Ninja Turtles is set to be released on DVD, Blu-Ray, and Video on Demand December 16. At some point or other you might want to extract a part of audio from this DVD film to an audio podcast for listening to while traveling or burning to a CD for entertainment while driving. Then how to realize?
The good news is that today we have opportunity to look for help from others by internet about how to extract DVD Teenage Mutant Ninja Turtles audio to MP3, AC3 or AAC and of course, the most practical DVD audio extractor for Mac from feedback will be adopted by us.
Surprisingly, Pavtube ByteCopy for Mac, known as such a pretty useful DVD audio extractor Mac (Read Top 3 Mac Ripping and Copying Tools Review), is capable of freely extracting audio from DVDs to MP3, AAC and AC3 on Mac OS X (Macvericks and Yosemite included). Therefore, you can enjoy songs on the move without any limitation. What’s more, its outstanding function of removing copy protection from DVDs will cater to your needs anyway. Then, just follow the below steps to handle this DVD audio ripper.
- Also learn how to Extract a pure audio Blu-ray to iPhone/iPad for listening and rip Pure Audio Blu-ray to PonoPlayer
Easily Get Songs from DVD Teenage Mutant Ninja Turtles by Mac DVD Audio Extractor
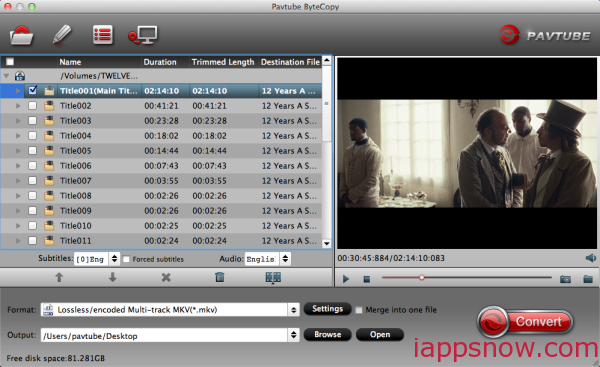
Step 1. Free download Pavtube ByteCopy for Mac(Windows version is here), install and launch the program.
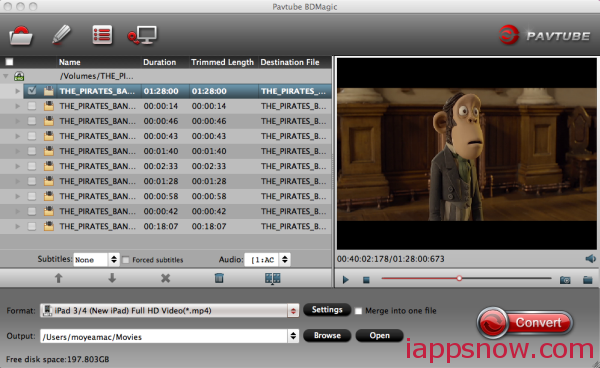
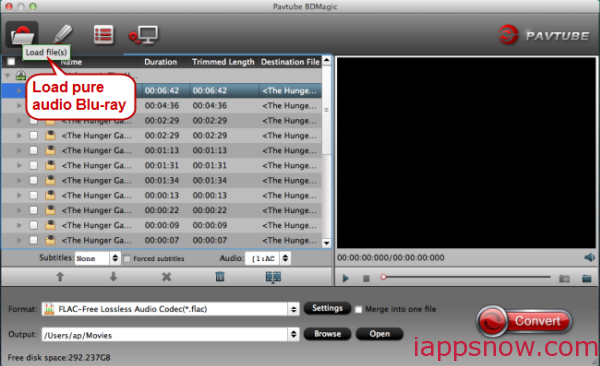
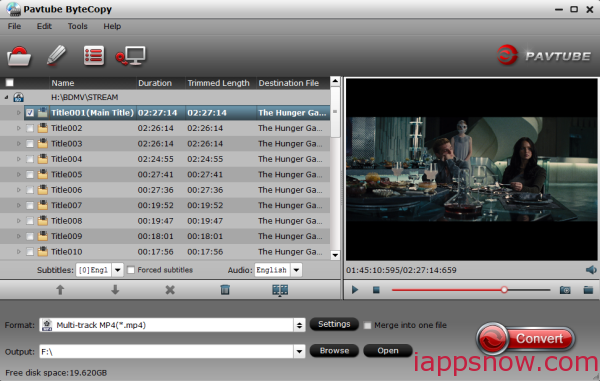
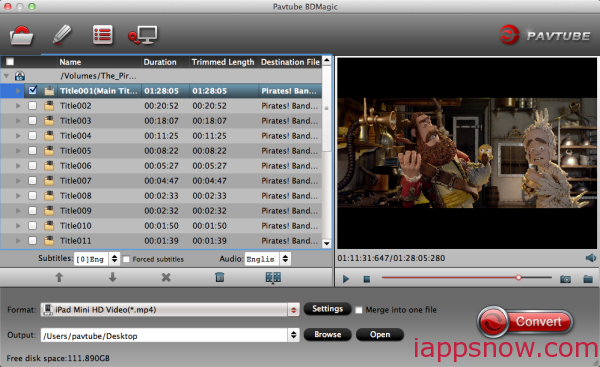
After running Pavtube DVD audio ripper for Mac, just click “Load disc” button to load source .DVD files.
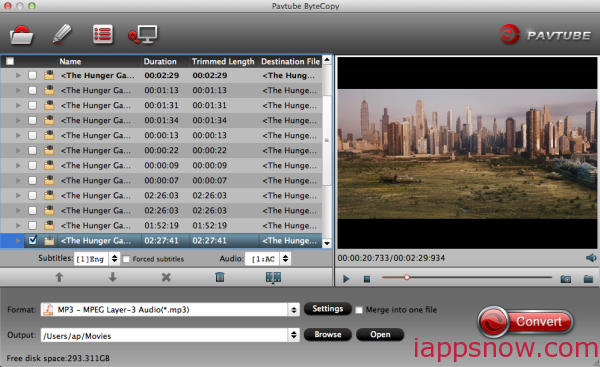
Step 2. Select MP3 as output format for playing
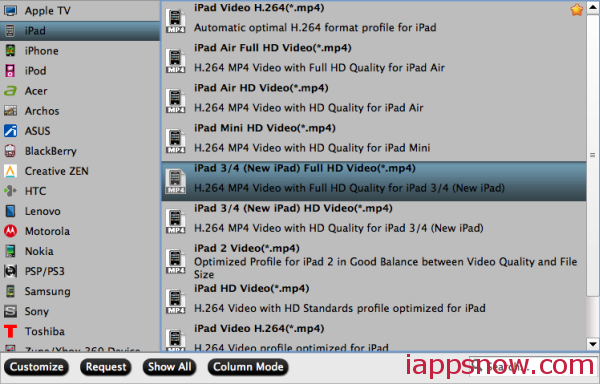
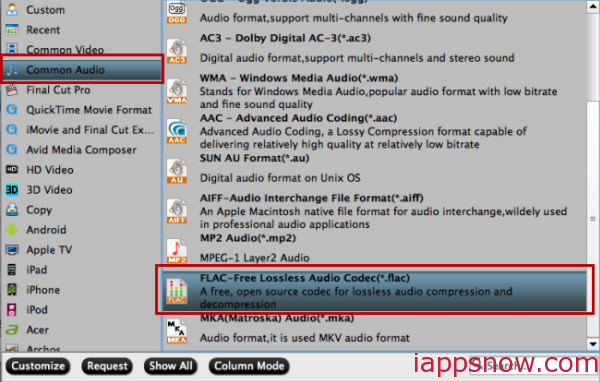
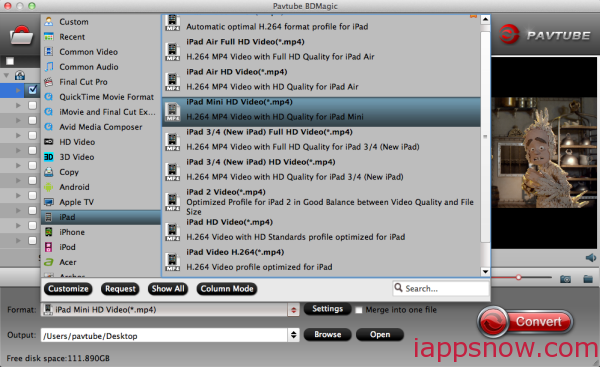
Move your cursor to Format and choose “Common Audio>MP3 – MPEG Layer-3 Audio(*.mp3)” as below:
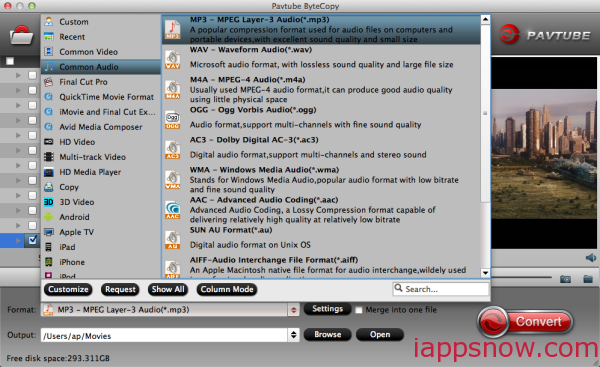
Generally speaking, MP3 is the most widely used audio format which is supported by all computer systems and all mobile devices ( iPad, iPhone, Apple TV, Zune, Mobile Phone, etc.), various DVD players and some car stereos. Or as listed above, there are several presets for other audio format; just choose one as your needs.
Step 3. Adjust audio specs and trim audio length (optional).
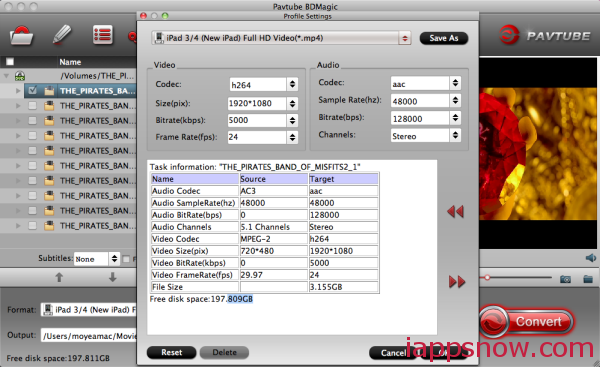
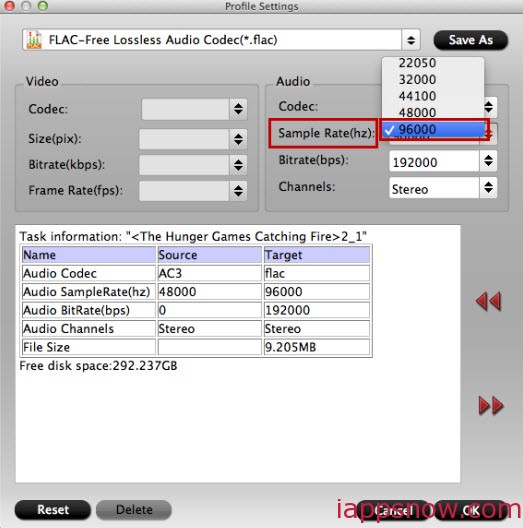
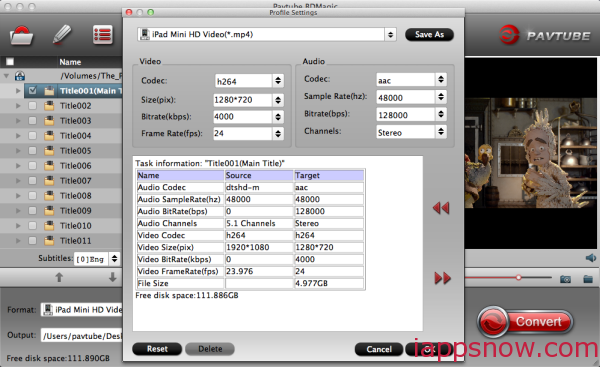
If you are not satisfied with the default audio quality, just click the “Settings” icon and choose wanted audio settings including sample rate, bitrate and audio channel.
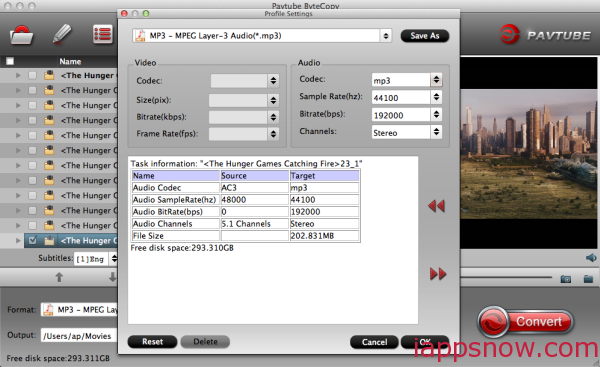
Tip: If you only want to extract one clip that contains background music from DVD, you can click “Edit” icon. On the “Video Editor” Window, you can play and preview the original video and output effects. Also you can flip video, trim, add effect, reset, and adjust volume.
For example, the “Trim” feature allows users to decide where to start and where to end when converting the selected clip, so that unwanted segments will be cut out after conversion. To set your audio length, please switch to “Trim” tab in “Video Editor” Interface and follow any of the methods below:
1. Drag the control sliders to include the segment you want to remain.
2. Click the left square bracket to set start point, and click the right square bracket to set end point when previewing the video.
3. Input specific values to “Start” and “End” box.
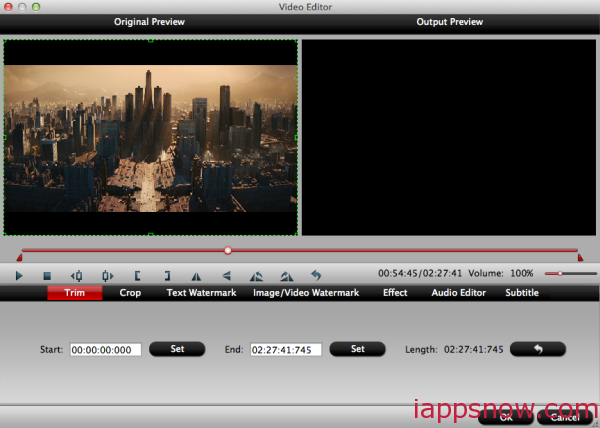
And Pavtube ByteCopy for Mac also offers “Previous Frame” and “Next Frame” options for users to select frames and trim accurately.
Step 3. Start converting DVD to MP3.
Now back to the main interface and hit “Convert” to convert Teenage Mutant Ninja Turtles DVD file to MP3 format. Wait for a while during the progress; after it completed, click “Open output folder” to locate the converted audio file.
Ok, now your audio from DVD disc has been converted to MP3 which is perfect for listening on smartphones or do further steps to burn it on CD for enjoying.
Also you can enjoy DVD movies on DVD Player, VLC Player and FANTEC Media Player.


