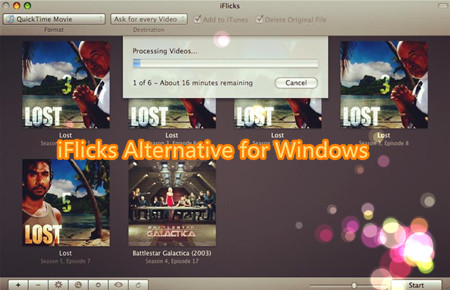
iFlicks is absolutely a great assistant for all Mac users to manage video collection through iTunes. With iFlicks, it is so simple to enjoy videos and audios in iTunes or even sync them to iPad, iPod or iPhone. However, iFlicks can be used only on Mac, not windows. How to add metadata for users running a Windows system? Want to get an alternative to iFlicks for Windows to convert and import all kinds of video and audio files to iTunes/Apple TV/iPad/iPod/iPhone on Windows? The following article just aims to introduce an ideal iFlicks Alternative for Windows.

At first you need to know: iFlicks supports these formats:
* File formats: avi, divx, flv, m4v, mkv, mov, mp4
* Video types: MS-MPEG4 v1 & v2, DivX, 3ivx, H.264, VP6, H263i, VP3, MPEG1 & MPEG2 Video
Maybe you have spent months of Sundays to find an iFlicks alternative for Windows. Now you are right here. Luckily, We’ve found the Pavtube Video Converter Ultimate (Windows 10 include) as the top iFlicks for Windows alternative to let you add metadata for videos, to better organize your iTunes in just a few clicks with a friendly user interface. Also it can be acted as a metadata editor for iTunes, making you easily personalize metadata manually. Here is review.
Now, Just Free Download iFlicks Alternative for Windows or Mac:
How to Use This iFlicks Alternative for Windows
Below is a step by step guide to use this iFlicks Alternative for Windows. Pavtube Video Converter Ultimate has a well optimized interface. Even to a beginner, you will quickly know how to master this application. Please read the 4 steps below. If you are looking for a iFlick alternative for Mac, please click Pavtube iMedia Converter for Mac or you need to know: How to move files from a Windows PC to a Mac in stead of download the mac version.
Step 1: Add files into the iFlicks Alternative for Windows
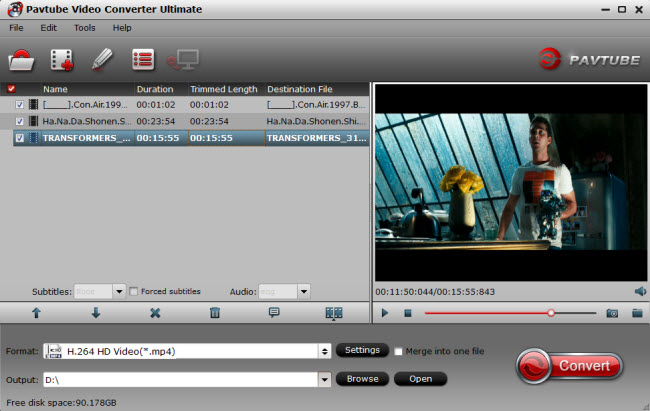
Run the iFlicks Alternative for Windows. Launch it; click “Add Video” and load your Video files. Or directly drag and drip your video source to the program. It supports batch conversion so you can import multiple files at a time.

Step 2: Set Apple Device as Output Format
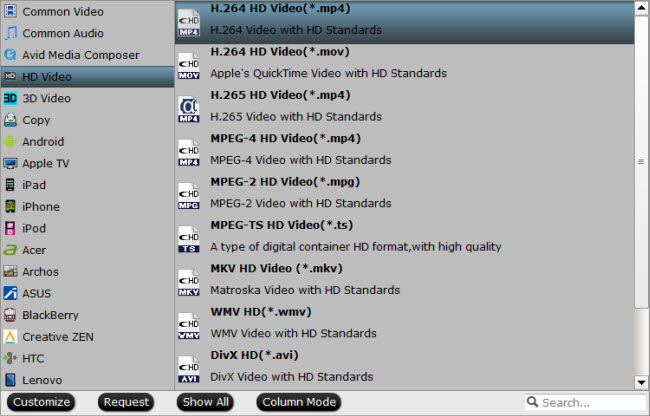
Click the down arrow button under “Output Format” to pop up the Output Format window, lick “Apple” to choose your Apple device, like iPhone, iPad, or Apple TV. Also you can click the “Format” icon to set MP4 as the output format.

Learn >> Apple TV Best Format | iPhone 6 Best Format | iPad Air 2 & Mini 3 Best Format…
Step 3: Convert Media to iTunes format
Click the “Convert” button to start converting the media video or audio files to iTunes supported format. It will be finished with fast conversion speed and great output quality. Then, you can click “Open” button to drag the converted media files to iTunes for easy playback or for sync to Apple TV, iPads or iPhone.
Read More:


